

Choosing blank cards for printing starts with the workflow you already run. For an ID card project, the right card body is not simply the material with the most familiar name. It is the blank plastic card that fits the printing, personalization, handling, and finishing steps you plan to use after delivery.
Start by defining those steps. Then turn them into a card specification, compare material candidates against that specification, and test a representative sample before approving a larger order. This approach keeps the decision focused on the ID card workflow rather than on paper greeting cards, generic card stock, or RFID technology selection.
Start With the Personalization Workflow and Device Constraints
Before comparing blank cards for printing, map the route from a blank card to a usable ID card. A small in-house issue program may print a photo, name, or number one at a time. A larger program may add variable information in a defined production step and then apply a finish or other post-processing treatment. These are different workflows, even when the cards look similar at the end.
The first question is therefore not “Which material is best?” It is “What will happen to this card after it arrives?”
What Will Be Printed or Added After the Cards Arrive?
List every planned step that changes the blank card, from fixed graphics and variable ID details to a signature area, laminate, or other approved finishing requirement. Separate what is already present on the card from what your team will add later. That distinction prevents a blank-card purchase from being treated as though it were a finished-card order.
For each step, write down whether it applies to one side or both sides and whether it happens before or after another operation. This identifies the card-body conditions that the rest of the workflow depends on.
Which Existing Devices Set the Constraints?
Your existing printer, laminator, card issuer, or other downstream equipment may set requirements that a material name alone cannot answer. Use the current device documentation to identify the inputs that matter to your process, such as accepted card format, thickness range, surface requirements, or the sequence of any finishing step.
Do not turn a general material label into a compatibility promise. A blank card can only be treated as suitable for a specific device after the relevant requirements have been checked and, where needed, tested in the actual workflow. Recording the device model and the consumables used in the test makes the result useful when the project is repeated or expanded.
Turn Workflow Requirements Into a Blank-Card Specification
Once the workflow is clear, translate it into a concise blank-card specification. This is where the project becomes easier to compare and quote. Instead of asking for “printing cards,” define the physical card body and the work it must support.
Separate Card-Body Requirements From Artwork Requirements
Artwork answers questions about the design, text, images, and placement of information. The card-body specification answers different questions: card dimensions, thickness, the number of printable sides, edge shape, surface expectations, and any planned post-processing. Both are important, but one cannot substitute for the other.
Keeping them separate also makes revision easier. A design can change without necessarily changing the card body. Conversely, a revised printing or finishing route may require a new card-body review even when the artwork stays the same.
If your project instead needs the supplier to deliver finished credentials rather than blank cards for an in-house workflow, the next decision is different. See custom ID cards for that finished-card path.
Identify Surface and Post-Processing Requirements Early
Surface and post-processing requirements should enter the decision before a material is selected, not after a bulk order is placed. If your workflow includes a particular print process, a laminate, a signature treatment, sequential numbering, or a barcode, capture it as a requirement. If the requirement is not yet known, mark it as open instead of assuming that every blank card will behave in the same way.
This gives manufacturing and procurement teams a useful boundary for discussing the intended process without unsupported claims about print quality, durability, or universal device compatibility.
Compare Material Options Against That Specification
The ZFCARD Blank Cards page lists PVC, PET, PLA, ABS, and Polycarbonate as material options. That list is a starting point for a project discussion, not a ranking of which material is always best. The practical choice depends on the specification created in the earlier steps and on evidence that applies to the actual process.
Use a requirement matrix to organize the comparison. It keeps the team from choosing a material on appearance or habit alone.
| Requirement to record | Project question | Evidence needed before approval |
|---|---|---|
| Card format | What size and physical format does the workflow require? | Current equipment documentation and the agreed project specification |
| Thickness | What range can the downstream process accept? | Equipment documentation and a representative sample result |
| Printing route | What will print the card, and on which side? | Current process information and relevant device guidance |
| Surface and finishing | What will be applied after delivery? | Product information and a sample that follows the intended sequence |
| Handling conditions | How will cards be issued, carried, stored, or processed? | Project requirements that define the actual use case |
| Open decisions | Which conditions remain unknown? | A named owner and a sample or document review plan |
The matrix does not replace technical information. It makes clear which information is needed before a material conclusion is made. If multiple candidates remain possible, keep them in the specification and let the sample stage resolve the decision under the conditions that matter to the project.
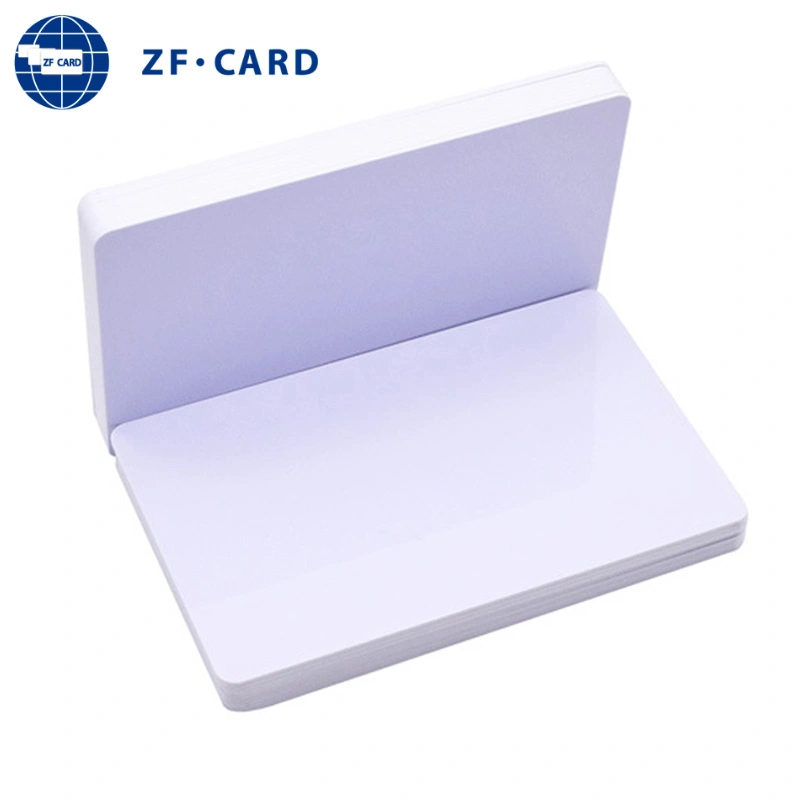
Blank card candidates should be assessed against the documented ID card workflow and sample plan.
Validate the Selected Card Stock With a Representative Sample
A representative sample is the bridge between a written specification and the real workflow. It should go through the same meaningful steps that the production cards will go through. A digital artwork proof may help approve the design, but it does not show how a blank card behaves in the planned printing and finishing sequence.
Record What the Sample Must Prove
Define the sample objective before the test begins. For example, the test may need to confirm that the selected card format can move through the intended process, that the planned personalization steps can be completed in the required order, or that a specified finish can be evaluated under the agreed conditions. The exact acceptance criteria should come from the project, equipment documentation, or approved product information.
Record the card candidate, the equipment and consumables used, the process sequence, and the result. If the workflow changes, repeat the relevant part of the test rather than assuming that an earlier sample answers a different question. This gives the final specification a usable link to the process it is meant to support.
Turn the Decision Into a Supplier-Ready Specification
After the workflow and sample plan are defined, prepare a short specification that a supplier can review without guessing. Include the material candidate or candidates, card format, thickness requirement, number of printable sides, planned surface or post-processing requirements, the downstream equipment involved, and the items still awaiting confirmation.
When the specification is ready for a card-body discussion, review the Blank Card product details alongside the project requirements. Keep the decision tied to the documented workflow rather than treating a product page as an automatic compatibility statement.
Keep the specification focused on the card body and personalization workflow. Do not add RFID chip, frequency, encoding, or reader-selection requirements unless those are a separate, verified project decision. They belong to a different selection task and can obscure the blank-card requirements this article addresses.
The same document can also guide a useful sample discussion. It tells both sides what the sample needs to represent and what information is still needed before the order is finalized.
Choose Blank Cards That Fit the Workflow You Actually Run
Blank cards for printing work best when the card body is chosen for the process that follows. Define the personalization route and device constraints first. Convert them into a practical card specification. Compare material candidates against that specification, then validate the decision with a representative sample.
If you are preparing an ID card workflow, contact ZFCARD about a blank-card specification or sample discussion after documenting your device model, required card format and thickness, printable sides, and planned post-processing steps. That creates a focused starting point for the next decision.