

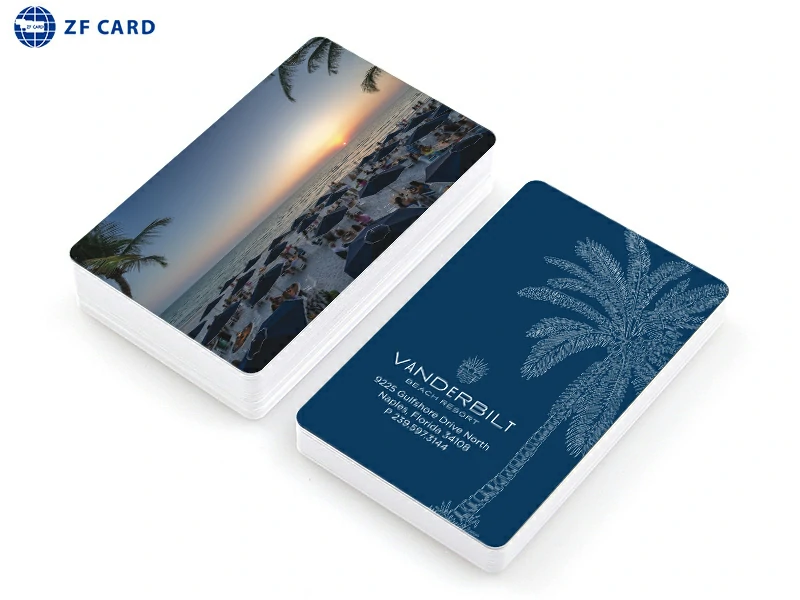
When a project calls for a MIFARE card, it is easy to focus on the chip name and overlook the card body. That can create problems later, when a card must pass through a printer, fit an existing badge holder, carry a slot hole, or keep a layout clear of the inlay area.
For most card projects, the physical specification starts with the ID-1 format. The MIFARE selection then sits alongside that physical specification, rather than replacing it. A useful RFQ therefore describes both the contactless technology and the finished card that will be printed, handled, encoded, and tested in the actual application.
Start by Separating the Chip From the Card Body
MIFARE refers to a contactless IC and interface family. It helps define the contactless side of a project, such as the type of card technology that must work with the intended reader or system. It does not, by itself, define the outside dimensions, thickness, artwork area, or physical features of the finished card.
Think of the finished credential as two connected specifications. One specification covers the contactless function: the chip family, the reader or lock context, and any encoding requirements. The other covers the physical card: format, thickness, surface design, and any features needed for handling or personalization.
Keeping those specifications separate makes a project easier to review. A buyer can ask whether the existing system needs a particular MIFARE option while also confirming whether the finished card must follow an existing ID-card format. If the next question is about chip type, frequency, or hotel-lock use, see MIFARE card compatibility for hotel locks. This article focuses on the physical side of the decision.
What the ID-1 Card Format Means for a Project
ID-1 is the familiar card format used as a common reference for many identification and access credentials. Its nominal dimensions are 85.60 mm wide, 53.98 mm high, and 0.76 mm thick. These values give the project team a shared starting point when discussing card-body size.
“Nominal” matters here. The ID-1 reference is useful because it lets a buyer communicate a recognizable physical format, but it should not be treated as a shortcut for every project decision. A reader, printer, lock encoder, badge holder, or personalization process can still introduce its own practical requirements. The same is true when a project adds a feature that changes how the card is made or used.
For example, an existing desktop card printer may be set up for a particular thickness range. A card holder may expect a conventional rectangular outline. A card that will be punched, printed with variable data, or used with a magnetic stripe may need additional review before artwork is finalized. The ID-1 reference establishes the starting form factor; the project specification establishes how that form factor will be used.
Which Physical Details Need to Be Confirmed Beyond Length and Width
Length and width alone are not enough for a production-ready specification. The following items should be decided early, because they affect the card layout, the required construction, or the way the final card is handled:
- Finished thickness: State the intended finished thickness, especially when the card must work with an existing printer, encoder, holder, or feeder.
- Corners and outline: Confirm whether the project follows a conventional card outline or needs a non-standard shape.
- Slots, holes, and other physical features: Identify any lanyard, attachment, or handling feature before artwork is locked. Its location should be reviewed with the visual design and the internal construction.
- Surface elements: List required items such as a signature area, magnetic stripe, variable data, numbering, or other personalization features.
- Print layout: Define the artwork, bleed, safe areas, and any areas reserved for variable information. These areas should be considered with the inlay layout rather than added as a late change.
This does not mean every card needs every feature. It means each requested feature should be visible in the RFQ. A short, clear specification prevents a design from being reviewed only as a graphic file when it also needs to work as a physical credential. When the print process itself is still being selected, see RFID card printing methods for the next decision.
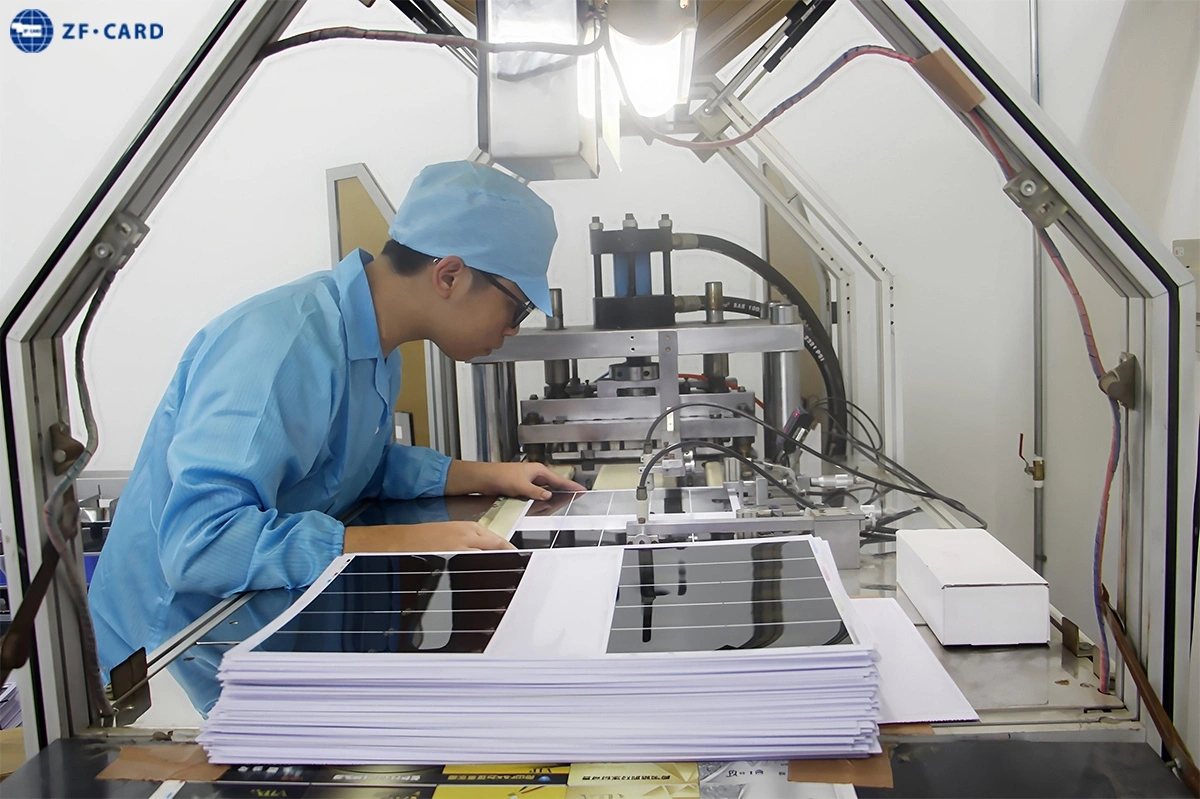
Card-sheet punching process illustrates why physical features need early specification. Custom RFID cards
How Inlay Layout and Card Construction Affect a Custom Design
An RFID card contains more than a printed face. The contactless function depends on an inlay and antenna within the card construction. That is why a visual layout and an RFID layout should be considered together.
The design team does not need to turn every card project into an antenna-engineering exercise. It does need to identify elements that could affect the inlay area or card construction. Large metallic effects, a slot hole, an unusual outline, heavy personalization, or a non-standard surface treatment can all be relevant to the final review. The correct question is not simply, “Can this artwork fit on the card?” It is, “Can this finished card combine the requested physical design and contactless function in the intended application?”
This approach also keeps the chip decision in the right place. A MIFARE selection may be driven by the existing system, while the inlay and construction review helps turn that selection into a usable finished card. Neither step should be assumed from the other.
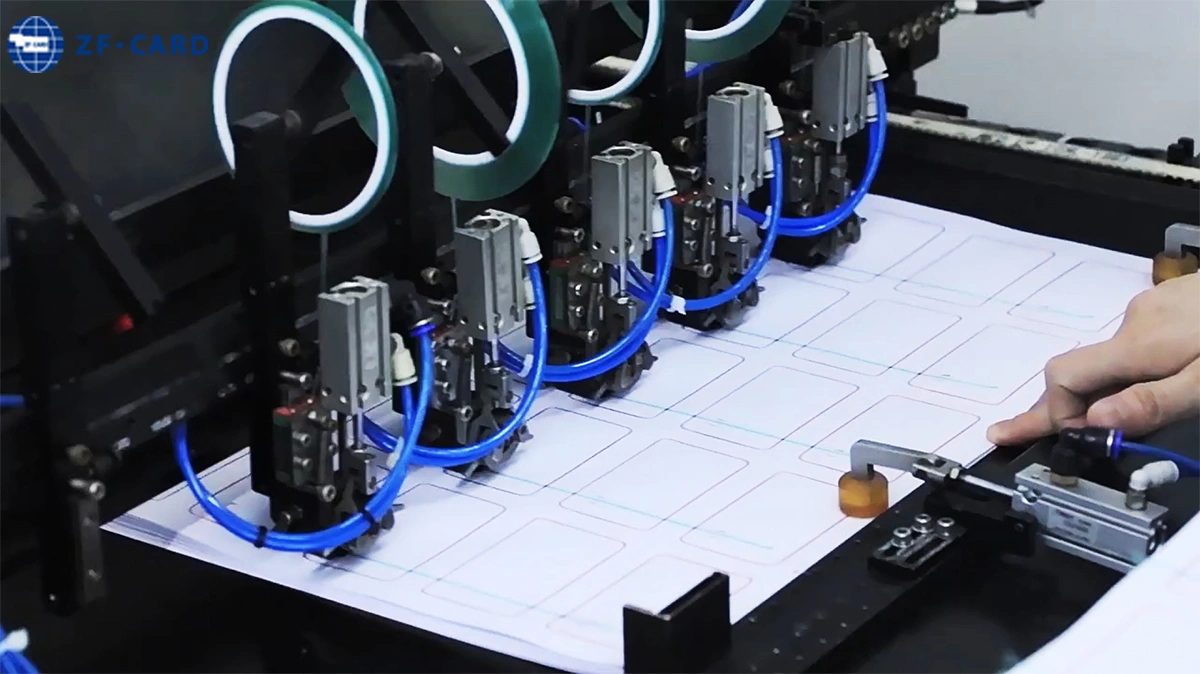
RFID inlay production, where the antenna area is planned within the card construction.
A Practical RFQ Checklist for MIFARE Card Dimensions
Before requesting a quotation or sample discussion, collect the information that describes both sides of the project:
- Card reference format: State whether the card should use the ID-1 format or another required form factor.
- Finished thickness: Provide the target thickness and note any equipment or holder that the card must pass through.
- System context: Share the reader, encoder, lock, or application information that affects the MIFARE or contactless specification.
- Physical features: List any slot hole, signature area, stripe, numbering, or personalization requirement.
- Artwork and data: Provide the artwork file, print-side requirements, variable-data fields, and any information that must appear in a reserved area.
- Sample objective: Explain what the sample must prove, such as card handling, print appearance, encoding flow, or use with the actual equipment.
This checklist is designed to make the first technical conversation more efficient. It does not ask a buyer to know every manufacturing detail in advance. Instead, it makes the project inputs visible early enough to turn them into a testable card specification. For a broader handoff list before placing a custom order, use the custom RFID card order checklist.
When a Sample Test Is Necessary
A sample test is most useful when a project combines a standard-looking card with a non-standard requirement. Examples include a card that must work with a particular encoder, a physical feature that changes the card body, or artwork and personalization that need to be reviewed with the contactless construction.
The sample should answer a defined question. It might check how the card moves through the intended equipment, whether the physical feature is positioned appropriately, or whether the finished card fits the planned use. Testing against the actual reader, encoder, printer, holder, or lock gives the project team a more relevant result than judging the design from a screen alone.
Conclusion
MIFARE card dimensions are not determined by the MIFARE name alone. A successful specification brings together the contactless requirement and the physical card requirement: the appropriate card-body format, finished thickness, planned features, artwork, and the equipment context that matters to the project.
Once those inputs are clear, ZFCARD can review the specification with you and discuss the next sample or production step. For a project that is ready to move from a card concept to a defined requirement, explore custom RFID cards and send the card reference, intended use, equipment details, and artwork requirements for a specification check.